


Table of Contents
- Understanding the Three-Lighting Rule for Luxury Weddings
- Wedding Lighting Ideas: Choosing Fixtures That Match Your Style and Venue
- Wedding Reception Uplighting: Creating Dramatic Mood and Atmosphere
- Wedding Lighting for Photos: Technical Setup for Professional Results
- Wedding Lighting Layout: Planning Placement and Coverage
- Coordinating Lighting with Décor and Color Schemes
- Budget, Timeline, and Installation Checklist
- Frequently Asked Questions
Last Updated: October 5, 2026
Understanding the Three-Lighting Rule for Luxury Weddings
Luxury wedding lighting is the foundation of creating an unforgettable atmosphere. The three-lighting rule is simple: combine ambient light, accent light, and task light to build depth and drama.
Ambient lighting sets the overall mood. Accent lighting highlights specific areas and features. Task lighting ensures guests can see clearly where they need to.
At M Lounge, we understand that layering these three types creates a multi-dimensional look that transforms any space.
Here’s why the three-lighting rule matters:
- Ambient light provides the base layer and general brightness
- Accent light draws attention to focal points and architectural features
- Task light ensures safety and visibility at tables and bars
When you combine all three, your wedding lighting plan becomes sophisticated and intentional. Each layer serves a purpose. Together, they create the opulent ambiance that separates a good event from an extraordinary one.
Wedding Lighting Ideas: Choosing Fixtures That Match Your Style and Venue
The right fixtures make all the difference. Your choice depends on your wedding style, venue architecture, and the mood you want to create.
Ambient and Overhead Lighting
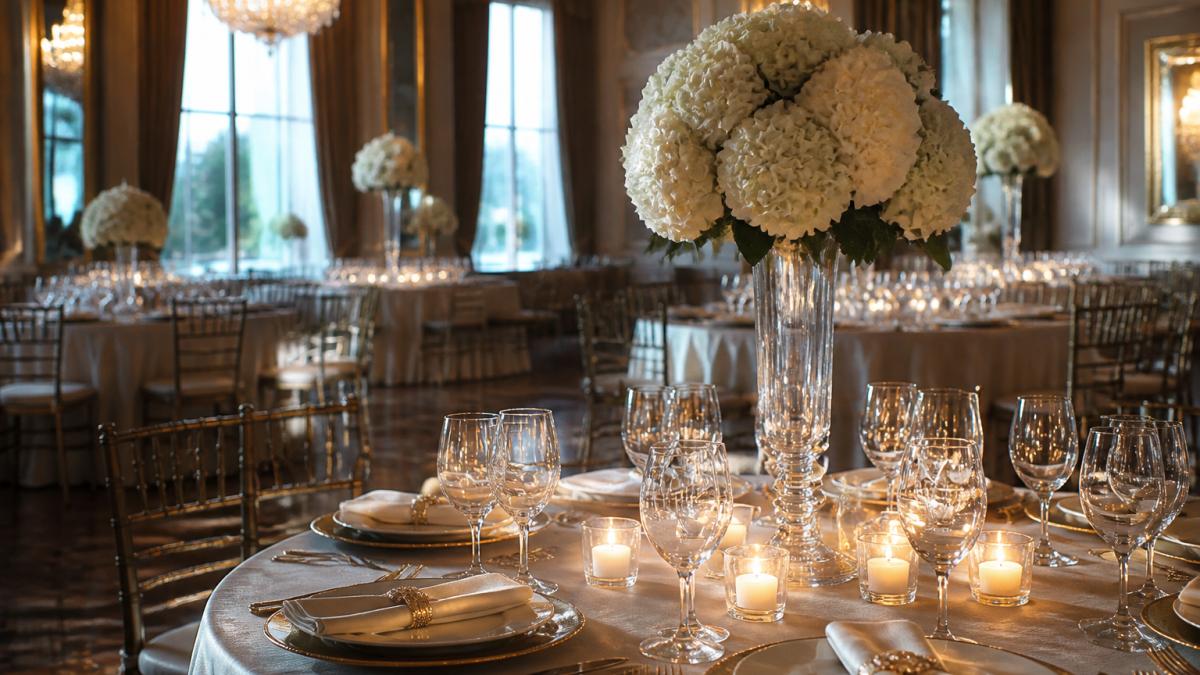
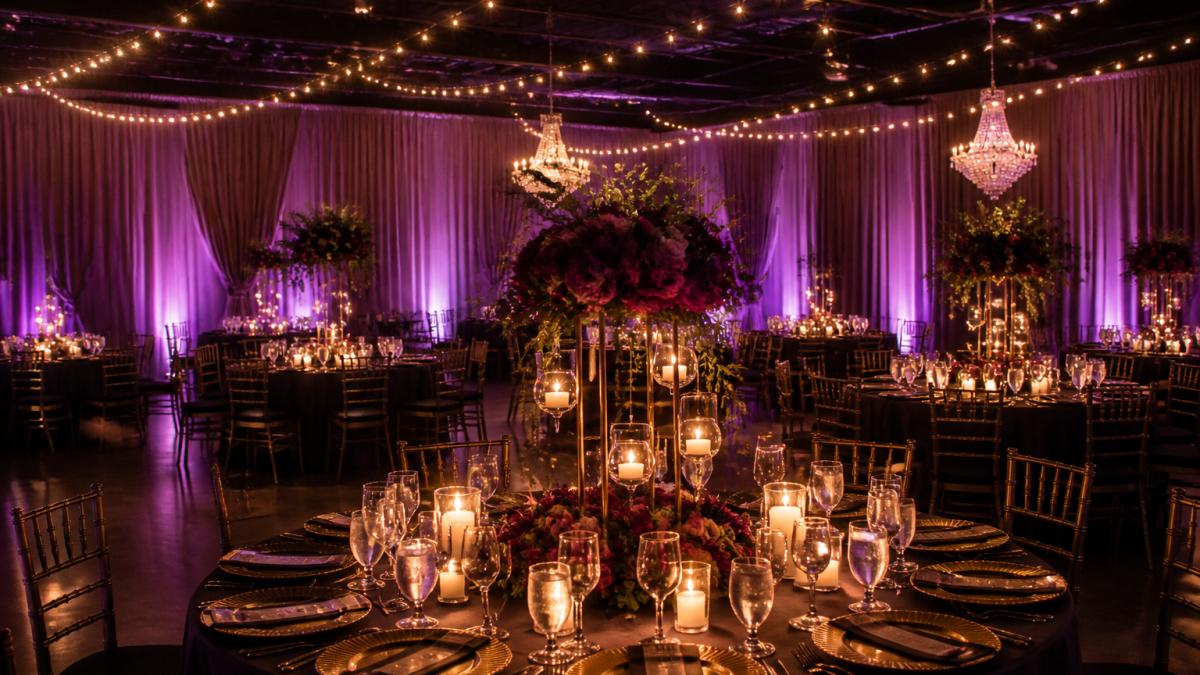
Overhead fixtures provide the primary light source. Chandeliers work beautifully in formal venues with high ceilings. Recessed lights offer clean, modern appeal. Pendant lights add elegance without overwhelming the space.
Think about your venue’s existing architecture. Does it have exposed beams? Ornate crown molding? High ceilings or intimate low ones? Your overhead lighting should complement these features, not compete with them.
M Lounge’s professional lighting setup allows you to adjust overhead intensity throughout the evening.
Consider these overhead options:
- Chandeliers for formal, traditional weddings
- Pendant lights for modern, minimalist spaces
- Recessed lights for clean, versatile venues
- Uplighting to wash walls with color and drama
String Lights and Accent Fixtures
String lights add warmth and romance. Bistro lights create a casual, intimate feel. Edison bulbs bring vintage charm. Café lights work in both indoor and outdoor spaces.
String lights work best when layered with other light sources. Use them to frame doorways, outline the dance floor, or create canopies over seating areas. They soften harsh shadows and add visual interest.
Floor lamps positioned strategically add another layer. Place them behind seating areas or in corners to fill dark spaces. This prevents the harsh contrast between bright and dark zones.
Layering Multiple Light Sources
Layering is where luxury wedding lighting truly shines. Combine overhead fixtures with string lights, add uplighting to walls, and position accent lights on focal points.
The goal is to create depth. Guests should feel surrounded by intentional, beautiful light from multiple directions. This prevents the flat, one-dimensional look that happens when all light comes from a single source.
Start with ambient light as your base. Add string lights for warmth. Then introduce uplighting and accent fixtures to highlight specific areas. Each layer should be visible but not overwhelming.
Test your lighting layers during the day with dimmed overhead lights. This shows how each layer contributes to the overall effect before guests arrive.
Wedding Reception Uplighting: Creating Dramatic Mood and Atmosphere
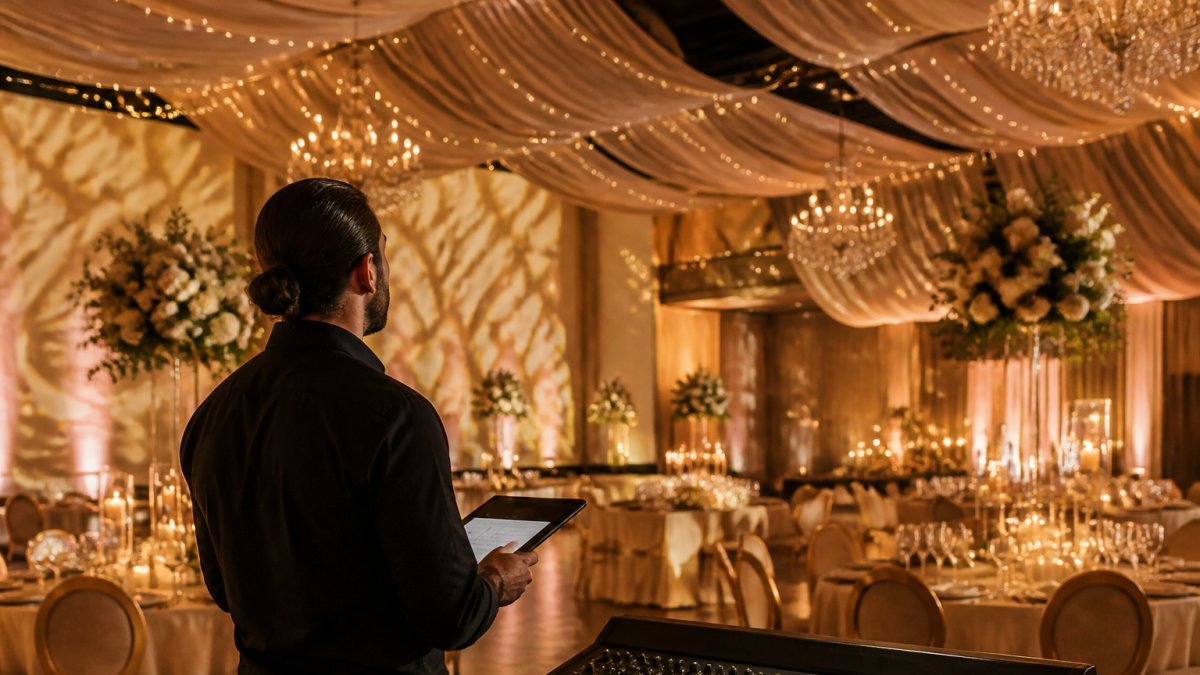
Uplighting transforms a venue instantly. Position lights at ground level pointing upward to wash walls, drapes, and architectural features with color and drama.
Uplighting Color Selection and Venue Impact
Color choice determines the entire mood. Warm colors like gold, amber, and soft pink create romantic, intimate atmosphere. Cool colors like blue, purple, and silver feel modern and sophisticated.
Test colors in your venue before the event. What looks stunning in photos might feel different in person.
Avoid colors that clash with your décor. If your wedding features soft pastels, deep purple uplighting might overwhelm the space.
Most venues have light-colored walls that accept uplighting beautifully. Darker walls absorb light and require more powerful fixtures. White or cream draping reflects light and amplifies the effect.
Positioning Uplights and Wash Lights
Position uplights 6-8 feet from the wall you want to illuminate. This creates even coverage without harsh shadows. Angle them upward at 45 degrees for maximum impact.
Wash lights cover larger areas. Use them to illuminate entire wall sections or draped areas. Pin spots focus tight beams on specific features like columns, artwork, or architectural details.
Spacing matters. Uplights placed too close create visible lines and shadows. Space them 8-12 feet apart for smooth, even coverage. Overlap the light slightly for seamless transitions.
The best uplighting is invisible. Guests should see the beautifully lit walls and features, not the fixtures creating the light.
Wedding Lighting for Photos: Technical Setup for Professional Results
Professional photography requires careful lighting coordination. Photographers need consistent light, proper color temperature, and strategic positioning to capture your best moments.
Balancing Natural and Artificial Light
Natural light is beautiful but unpredictable. Afternoon light creates long shadows. Evening light fades fast. Artificial light gives you control.
The key is balance. Don’t rely solely on natural light or artificial light. Combine them strategically.
During the day, use natural light as your base. Supplement with off-camera flash to fill shadows and add dimension. As the sun sets, gradually increase artificial light while reducing natural light dependence.
Consistency matters. Flickering light or sudden changes create uneven photos. Maintain steady light levels throughout key moments like the first dance, cake cutting, and toasts.
Off-Camera Flash and Diffusion Techniques
Off-camera flash gives photographers flexibility. Position flash units to the side or behind subjects to create dimension. Direct flash creates harsh shadows and flat images.
Diffusion softens light. Softboxes, umbrellas, and diffusion panels scatter light evenly. This reduces shadows and creates flattering light for portraits.
Coordinate with your photographer about lighting placement. They need clear sightlines and freedom to move. Discuss where uplighting and accent lights will be positioned so they don’t interfere with photography.
Wedding Lighting Layout: Planning Placement and Coverage
A solid lighting plan starts with your venue map. Know the dimensions, identify focal points, and plan fixture placement strategically.
Mapping Your Venue for Optimal Light Distribution
Measure your venue carefully. Note ceiling height, wall colors, window locations, and architectural features.
Create a simple floor plan showing where each light fixture will be positioned. Mark overhead lights, string lights, uplights, and accent lights separately.
Consider traffic flow. Guests move from cocktail area to dining to dance floor. Each space needs appropriate lighting for that activity. The dance floor needs higher intensity.
Identify dark corners and shadowy areas. These need additional light to feel welcoming. A dark corner behind a bar or in a hallway creates an awkward, uninviting space.
Highlighting Architectural Features and Focal Points
Every venue has beautiful features worth highlighting. Exposed beams, stone walls, arched ceilings, fireplaces, and artwork all deserve attention.
Use pin spots or focused uplighting to draw attention to these elements. A single pin spot on a beautiful column creates drama. Uplighting on textured walls adds depth and interest.
Don’t over-light everything. Selective highlighting creates sophistication. Light 2-3 key features per section of the venue. This creates focal points without visual chaos.
Coordinate architectural lighting with your overall color scheme. If uplighting is gold, use gold on architectural features. If your theme is jewel tones, use complementary jewel-toned lighting on focal points.
Coordinating Lighting with Décor and Color Schemes
Your lighting must work with your décor. Conflicting colors or clashing styles undermine the entire aesthetic.
Start with your color palette. If your wedding features blush pink and gold, choose uplighting in warm tones.
Test lighting colors against your actual décor before the event. Bring fabric samples to your venue and see how different uplighting colors interact with them.
Draping amplifies lighting effects. Light-colored draping reflects and bounces light beautifully. Dark draping absorbs light and requires more powerful fixtures.
Coordinate with your florist and decorator. They need to know your lighting plan so they can position flowers and décor accordingly. A beautiful floral arrangement in shadow is wasted.
Avoid competing lighting colors. If you choose warm gold uplighting, don’t add cool blue accent lights. Conflicting colors create visual confusion and cheapen the overall look.
Budget, Timeline, and Installation Checklist
Planning luxury wedding lighting requires time and coordination.
Timing matters:
- 3-4 months before: Finalize lighting design and color scheme
- 2 months before: Book lighting installer and confirm fixture availability
- 1 month before: Create detailed venue map with fixture placements
- 2 weeks before: Confirm all logistics with your lighting team
- 1 week before: Final walkthrough to verify placement and test colors
- Day of: Arrive early for setup and final adjustments
Installation checklist:
- All fixtures delivered and tested before event day
- Electrical setup verified and safe for guest areas
- Overhead lighting dimmed and color-corrected
- Uplighting positioned and color-tested
- String lights hung and secured properly
- Accent and pin spot lights positioned on focal points
- Emergency lighting plan in place
- Backup fixtures available for any failures
- Lighting technician on-site during event for adjustments
Coordination essentials:
- Share lighting plan with photographer, caterer, and coordinator
- Confirm no light fixtures block sightlines or guest pathways
- Test all lighting during daylight to see final evening effect
- Plan lighting transitions for different parts of the evening
- Discuss contingencies for weather or technical issues
Designing luxury wedding lighting transforms your venue into an unforgettable space.
M Lounge specializes in creating these timeless experiences.
| Lighting Type | Best Use | Color Options | Installation Time |
|---|---|---|---|
| Ambient/Overhead | Overall brightness and base layer | Warm white, cool white, dimmable | 2-3 hours |
| String Lights | Romance and warmth | Warm white, Edison style, bistro | 1-2 hours |
| Uplighting | Wall and feature drama | Any color, jewel tones, pastels | 1-2 hours |
| Accent/Pin Spots | Architectural highlights | Any color, focused beams | 30 minutes |
| Floor Lamps | Corner fill and shadow reduction | Warm white, adjustable | 30 minutes |
Frequently Asked Questions
What is the ideal color temperature for wedding lighting?
Warm white (2700-3000K) creates romantic, flattering light. Cool white (4000-5000K) feels modern and clean.
How far in advance should I plan wedding lighting?
Start planning 3-4 months before your event.
Can I use wedding lighting in a venue with low ceilings?
Yes, but adjust your approach.
What happens if lighting fails during the event?
A professional lighting team always has backup fixtures and a contingency plan.
How do I coordinate lighting with outdoor ceremony and indoor reception?
Plan transitions carefully. Use natural light during the ceremony.
Frequently Asked Questions
What is the three-lighting rule for luxury wedding lighting?
The three-lighting rule combines ambient light (overall illumination), task light (functional lighting for specific areas), and accent light (dramatic uplighting and focal point highlighting). Ambient light provides base coverage throughout the venue. Task lighting ensures dining areas, bars, and dance floors are properly lit for safety and visibility. Accent lighting creates mood and draws attention to architectural features, draping, and centerpieces. Together, these three layers transform a space into a luxurious, multi-dimensional environment that feels both inviting and sophisticated.
How do you layer lighting for a wedding reception with uplighting?
Start with soft ambient overhead lighting as your foundation, then add uplighting in coordinated colors to wash walls and architectural features. Position uplights at the base of columns, behind draping, or along perimeter walls. Layer in accent lights like pin spots on centerpieces or moving heads for the dance floor. String lights or LED pixel tubes add warmth and texture. Finally, incorporate task lighting for the bar and dining tables. This multi-layered approach creates depth, guides guest attention, and transitions the space from ceremony to reception elegantly.
What color uplighting works best for wedding photos and atmosphere?
Soft whites, warm ambers, and blush tones are flattering for skin tones and photographs. Deep jewel tones like sapphire, emerald, or plum create drama and luxury without overwhelming the space. Avoid pure red or harsh blue, which can cast unflattering shadows. Test your color choices in your venue’s actual lighting conditions before the event. Coordinate uplighting colors with your wedding décor and color scheme for a cohesive look. Warm tones work well for intimate, romantic settings, while cooler jewel tones suit modern or glamorous aesthetics.
How far in advance should wedding lighting be planned and installed?
Plan your lighting design 2-3 months before your wedding to coordinate with venue, décor, and photography teams. Confirm fixture availability and any venue technical requirements early. Schedule installation and testing 1-2 days before your event to ensure all equipment functions properly and creates the desired mood. Test lighting at the actual time of day your reception begins, since natural light changes throughout the afternoon and evening. A final walkthrough the day of allows adjustments to intensity, color, and positioning before guests arrive.