



Table of Contents
- Step 1: Define Your Event Requirements and Goals
- Step 2: Evaluate Location, Accessibility, and Parking
- Step 3: Inspect the Venue in Person and Request a Site Visit
- Step 4: Questions to Ask When Booking a Venue
- Step 5: Review Your Event Venue Checklist Before Committing
- Step 6: Understand Event Space Rental Contract Tips and Negotiate Terms
- Step 7: Confirm Logistics, Vendors, and Post-Booking Communication
- Frequently Asked Questions
Last Updated: September 25, 2026
Professional Event Venue Booking Tips: 7 Steps
Booking an event venue is one of the most critical decisions you’ll make when planning a memorable occasion. The right space sets the tone for everything that follows.
This guide walks you through seven essential steps for professional event venue booking. Whether you’re planning a wedding, corporate retreat, or milestone celebration, these strategies will help you find the perfect space, negotiate favorable terms, and avoid costly surprises down the road.
Step 1: Define Your Event Requirements and Goals
Before contacting venues, answer these core questions:
- How many guests will attend?
- What’s your event date or date range?
- What’s your total budget?
- What’s the primary purpose (wedding, corporate event, celebration)?
- What atmosphere or aesthetic are you aiming for?
- Do you need catering, or will you bring an outside caterer?
- What audio-visual equipment do you need?
Document your event goals in writing. This becomes your reference point when evaluating venues, keeping you focused on what matters instead of impressive features you don’t need.
Write down your non-negotiables separately from your nice-to-haves. Non-negotiables (like seated capacity or parking availability) eliminate venues immediately. Nice-to-haves (like a lounge bar or uplighting) help you choose between finalists.
Step 2: Evaluate Location, Accessibility, and Parking
Location determines whether guests can attend. Consider these factors:
- Distance from your guests’ homes or offices: Is it convenient for most attendees?
- Public transportation access: Can guests reach it by bus, train, or rideshare?
- Parking availability: Does the venue offer on-site parking? How many spaces?
- Accessibility for guests with mobility challenges: Are there elevators, ramps, and accessible restrooms?
- Load-in and load-out access: Can vendors easily bring equipment and supplies?
Ask venues directly about parking: How many spaces are included? Is parking validated or free? What happens if you exceed capacity? Also ask about loading dock capacity and separate vendor entrances, as these details affect event day coordination.
A venue with limited parking in a busy area can create guest frustration before your event even starts. Budget extra time for guest arrival and consider whether you need to arrange shuttle service.
Step 3: Inspect the Venue in Person and Request a Site Visit
Photos can be misleading. Modern venue vetting combines remote technology with in-person visits to save time and narrow choices strategically.
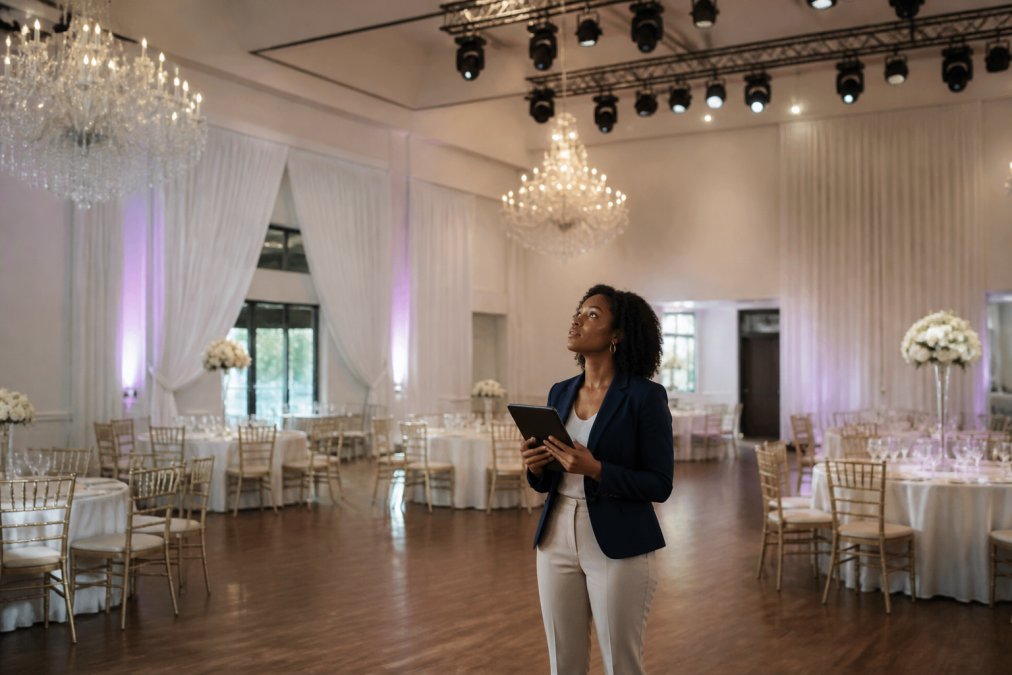
Leverage Digital Venue Tour Technology First
Use digital tools to pre-screen venues remotely: 3D virtual walkthroughs, 360-degree photo galleries, video tours with narration, and AR apps let you visualize layouts and assess ceiling height, lighting, and spatial flow without travel time. This eliminates unsuitable venues before you invest in site visits.
Schedule In-Person Site Visits Strategically
Visit your top 2-3 finalists in person, scheduling visits at a time similar to your event. Lighting changes everything, a space that looks great at noon might feel dim at night.
Compare Digital Impressions to In-Person Reality
Use digital tours to eliminate venues that clearly don’t fit your needs. Then visit finalists in person at the time of day your event will occur. This two-stage approach cuts site-visit time by 60-70% while ensuring you see the space under realistic conditions.
The site visit is where you assess whether the venue’s actual condition matches its marketing and whether the space will photograph well for your event. A gorgeous digital tour doesn’t tell you if the lighting system works, if the space echoes during speeches, or if vendor access is actually practical.
Step 4: Questions to Ask When Booking a Venue
The right questions uncover hidden issues and surprise costs before you sign. Start with these critical questions about what’s included:
- What’s included in the venue rental fee? (tables, chairs, linens, basic lighting, sound system?)
- What’s your cancellation policy if plans change? (Is there a grace period? What percentage is refundable at different stages?)
- Do you require liability insurance? What’s the minimum coverage amount?
- Can we bring our own caterer, or must we use yours? (If outside catering is allowed, are there restrictions or additional fees?)
- What’s included for audio-visual support and technical assistance on event day?
- Are there any blackout dates or time restrictions?
- What happens if we run over our scheduled time? (Is there an hourly overage charge?)
- Can we do a full event setup the day before, or only day-of?
- What’s your policy on outside vendors (florists, decorators, musicians, photographers)?
Request a Detailed Written Quote
Negotiate Fee Transparency
Common negotiation points include:
- Reducing or eliminating service charges for smaller events
- Waiving facility fees if you book during off-peak times
- Reducing the damage deposit
- Extending setup and breakdown time without additional hourly charges
- Allowing outside vendors without additional fees
- Clarifying what’s included versus what’s rented
- Adding flexibility for guest count changes (within a range)
Never sign a contract with vague language like “additional fees as needed” or “charges to be determined.” Require specific dollar amounts or clear formulas for calculating any fees. If a venue won’t provide a detailed breakdown, that’s a red flag about their pricing practices.
Create a fee comparison spreadsheet for your top 3 venues. List every charge category and the dollar amount for each. This makes it immediately obvious which venue offers the best value and where you might negotiate. Many venues will match or beat a competitor’s price on specific line items if you present the comparison.
Step 5: Review Your Event Venue Checklist Before Committing
Before you commit financially, work through a comprehensive event venue checklist. This ensures you’ve covered all critical areas.
Your checklist should include:
- Venue capacity matches your guest count (seated and cocktail)
- Location is accessible for all guests
- Parking is adequate or alternatives arranged
- Catering arrangements are clear
- Audio-visual equipment meets your needs
- Liability insurance requirements are documented
- Cancellation policy is acceptable
- Vendor policies are in writing
- Setup and breakdown timeline is confirmed
- Backup plan exists if venue becomes unavailable
- Pricing breakdown is detailed and agreed upon
- Venue contact person and emergency number are provided
Step 6: Understand Event Space Rental Contract Tips and Negotiate Terms
The contract is where everything becomes legally binding. Understanding event space rental contract terms protects you.
Key contract elements to review:
- Date and time: Is the exact date locked in? What’s the duration?
- Capacity limits: What’s the maximum guest count?
- Pricing and payment schedule: When is payment due? What’s the deposit?
- Cancellation terms: What happens if you cancel? What’s the refund policy?
- Liability and insurance: Who’s responsible for damage? What insurance is required?
- Outside vendor policies: Which vendors are allowed? Are there restrictions?
- Overtime charges: What happens if your event runs late?
- Damage deposit: Is there a security deposit? When is it refunded?
Common negotiation points include:
- Reducing the damage deposit
- Extending setup and breakdown time
- Allowing outside vendors without additional fees
- Clarifying what’s included versus what’s rented
- Adding flexibility for guest count changes
Step 7: Confirm Logistics, Vendors, and Post-Booking Communication
After you’ve signed, your relationship with the venue shifts to execution mode. Clear post-booking communication prevents event day disasters.
Establish a communication workflow immediately:
- Designate a primary contact: Who at the venue is your main point person?
- Confirm communication preferences: Email, phone, or project management tool?
- Set meeting schedule: When will you meet to finalize details?
- Clarify vendor coordination: Will the venue help manage vendor communication, or do you handle it?
- Document all decisions: Keep written records of every agreement and change
Create a shared timeline for your event. Include:
- Final guest count deadline
- Menu selections and dietary restrictions deadline
- Audio-visual setup requirements and timing
- Vendor arrival times and parking instructions
- Setup and breakdown schedule
- Day-of contact procedures
Clear post-booking communication is what separates a well-executed event from a chaotic one. The venue’s willingness to coordinate actively with your vendors matters more than you might think.
Frequently Asked Questions
What should I look for when booking a professional event venue?
Focus on capacity that matches your guest count, audio-visual equipment capabilities, venue layout flexibility, and included amenities like lighting and draping. Inspect the actual space in person, photos don’t show acoustics, ceiling height, or natural lighting. Verify parking facilities, accessibility for all guests, and whether the venue’s aesthetic aligns with your event goals. Ask about load-in and load-out times, vendor policies, and what happens if you need to adjust your event timeline.
How far in advance should you book a professional event venue?
Book 3-6 months ahead for corporate events and milestone celebrations, especially if you’re planning during peak season (spring and fall). For smaller, intimate gatherings of 80 people or fewer, 6-8 weeks may suffice if the venue has availability. Booking early gives you better date selection, time to coordinate with vendors, and opportunity to negotiate pricing. If you need a specific date or have a tight timeline of 4-6 weeks, contact the venue immediately to confirm availability and assess whether their team can handle your event planning needs without compromising quality.
What are hidden fees I should watch for in an event space rental contract?
Common hidden costs include service charges (often 18-20% of food and beverage), setup and breakdown fees, overtime charges if your event runs past the contracted time, parking fees for vendors, audio-visual equipment rental beyond basics, venue draping or uplighting upgrades, and liability insurance requirements. Before signing, request an itemized breakdown of all costs and ask whether lighting, draping, and basic AV are included or add-ons. Clarify what ‘all-inclusive’ actually means, it’s a common claim that masks unexpected charges. Get everything in writing.
How can I negotiate better rates with an event venue?
Book during off-peak seasons (weekdays or winter months) for lower rates. If you’re flexible on dates, ask about available time slots and mention you can adjust your event timeline. Request package deals that bundle catering, audio-visual, and venue draping together rather than paying separately. Get competing quotes from similar venues and use them as leverage, venues often match or beat competitor pricing. For larger events (80+ guests), ask about volume discounts. Negotiate cancellation policy terms and booking deposit amounts. Building a relationship with the venue and showing you’re a serious, organized planner can open doors to better pricing and added perks.