


Last Updated: October 29, 2026
Quick Summary
DIY event marketing gives you full control of your guest list, budget, and message without an agency retainer. Start with one goal, build a timeline that begins eight to twelve weeks out, and run three channels you can execute well. A simple landing page, a three-email sequence, and a one-page spreadsheet with four formulas cover promotion and measurement.
- Begin promotion eight weeks out for a seated dinner and twelve weeks for a wedding-scale event.
- Pick three channels that pass the reach, effort, and repeatability filter, then drop the rest.
- Send the invitation six weeks out, a reminder at three weeks, and final details the week of.
- If 70% of confirmed guests typically show, invite enough to confirm about 1.4 times your target headcount.
- Ask how guests heard about you with a dropdown so you can compare registration rates by channel.
Table of Contents
- Why DIY Event Marketing Strategies Work for Smaller Guest Lists
- Step 1: Build Your Event Marketing Plan Around One Goal
- Step 2: Set an Event Marketing Timeline That Beats the Rush
- Step 3: Generate Event Promotion Ideas for Every Channel
- Step 4: Run Event Email Marketing That Gets Opens
- Step 5: Build a Landing Page and Track DIY Measurement
- Step 6: Plan for Accessibility and Last-Minute Contingencies
- Reserve Your Date at M Lounge Before Your Promotion Peaks
- Frequently Asked Questions
Why DIY Event Marketing Strategies Work for Smaller Guest Lists
DIY event marketing strategies give you full control of your guest list, your budget, and your message. You do not need an agency retainer to do this.
The math favors small rooms. A venue that seats 80 guests needs a focused guest list, not a mass ad campaign.
Below, we break down six steps you can run yourself, starting this week.
Step 1: Build Your Event Marketing Plan Around One Goal
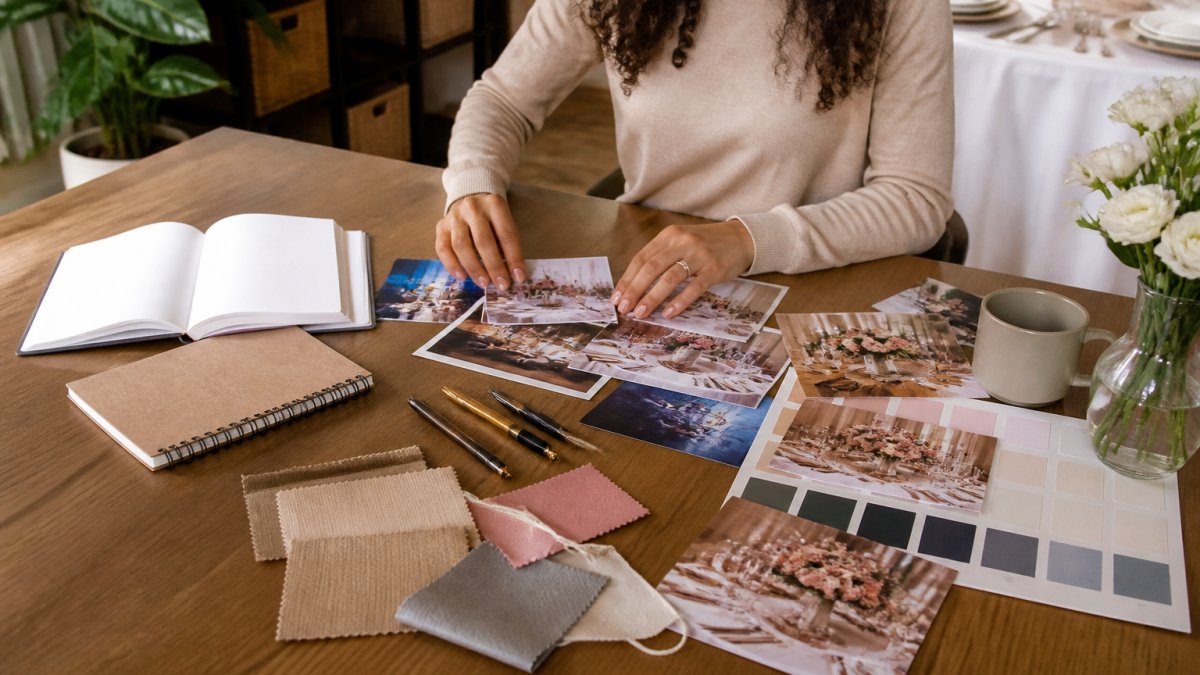
An event marketing plan starts with a single number you want to hit. Pick one: 70 confirmed guests, 50 deposits, or 30 RSVPs from a corporate list. One goal keeps every task honest.
Most hosts try to chase attendance, ticket sales, and brand awareness at once. That splits your energy and your budget.
Write your goal at the top of a page, then list the three tasks that move it. If you are still weighing venue costs against that goal, this guide to affordable event venues helps you anchor the plan before you spend a dollar on promotion.
Step 2: Set an Event Marketing Timeline That Beats the Rush
Your event marketing timeline should start well before invitations go out. A workable rule: begin promotion eight weeks out for a seated dinner, twelve weeks for a wedding-scale event.
Here is a simple sequence:
- 12 weeks out: lock the date and venue
- 8 weeks out: build your guest list and send save-the-dates
- 6 weeks out: open RSVPs and start social posts
The early weeks matter most. A timeline that beats the rush depends on booking the venue first, so practical venue booking steps belong at the front of your plan.
Here is the promotion sequence the article recommends, counted back from event day.
| When | What to do |
|---|---|
| 12 weeks out | Lock the date and venue |
| 8 weeks out | Build guest list and send save-the-dates |
| 6 weeks out | Open RSVPs and start social posts |
| 3 weeks out | Send reminders and confirm headcount |
| 1 week out | Final logistics email with directions and timing |
Step 3: Generate Event Promotion Ideas for Every Channel

Strong event promotion ideas spread across several channels instead of leaning on one. Pick three you can run well, then repeat your message on each.
Pick Your Three Channels With a Simple Filter
Before you write a single post, run each candidate channel through three questions:
- Reach: Can it put your event in front of at least 50 people who fit your guest profile?
- Effort: Can one person run it in under two hours a week?
- Repeatability: Can you post the same message three times without it feeling spammy?
If a channel fails two of the three, drop it. Most small events run best on a combination of one social platform, email, and one in-person or partner channel.
Social Media: A Three-Week Countdown Cadence
Social builds buzz. Local outreach fills seats. Treat them as separate jobs with separate copy.
A workable posting cadence for the final three weeks:
- Week 1 (21 days out): announcement post with the date, venue, and one-line hook
- Week 2 (14 days out): a “who it’s for” post that names the audience directly
- Week 3 (7 days out): a logistics post with time, parking, and the RSVP link
Ready-to-adapt post templates:
- Announcement: “We’re hosting [event name] on 2026 at [venue]. [One sentence on why it matters]. Seats are limited, RSVP here: [link].”
- Who it’s for: “If you [specific trait, e.g., run a small team, just moved to the area, love live music], this one’s for you. [Event name], 2026. Details: [link].”
- Logistics: “[Event name] is one week away. Doors at [time], parking at [location], dress is [code]. Last call for RSVPs: [link].”
Two mechanics that lift response rates more than design tweaks: pin the announcement post to the top of your profile, and reply to every comment within a few hours, the algorithm rewards early engagement and your reply doubles as a second impression.
Local and Partner Promotion: The Small Ask
Partnerships help here. A neighboring business or community group can share your event with an audience you do not reach alone.
A short outreach message you can copy:
“Hi [name], I’m hosting [event name] on 2026 and thought your [customers/members/neighbors] might enjoy it. Would you be open to sharing the flyer or a quick post? Happy to return the favor for your next event. Here’s the one-pager: [link].”
Print simple flyers for nearby businesses and community boards, and ask two or three loyal customers or members to post about the event. A personal post from a real attendee outperforms a branded post almost every time.
A One-Page Promotion Calendar
Put every channel on a single page so nothing slips. A simple grid works: rows for each channel (social, email, partner, print), columns for each week from eight weeks out to event day. Fill in the specific task for each cell, “post announcement,” “send partner flyer,” “email reminder.” One glance shows what is due and who owns it.
Batch your work. Write all three weeks of social posts in one sitting, schedule them, and then spend your weekly promotion time on partner outreach and replies instead of scrambling for content.
What to Skip
Paid ads, influencer contracts, and printed mailers can work, but they add cost and complexity that most small events do not need. If your goal is 70 confirmed guests, a focused three-channel push with consistent copy will usually outperform a scattered five-channel effort.
Step 4: Run Event Email Marketing That Gets Opens
Event email marketing works best when every message has one job. Short subject lines and one clear button beat long newsletters.
A three-email sequence covers most events:
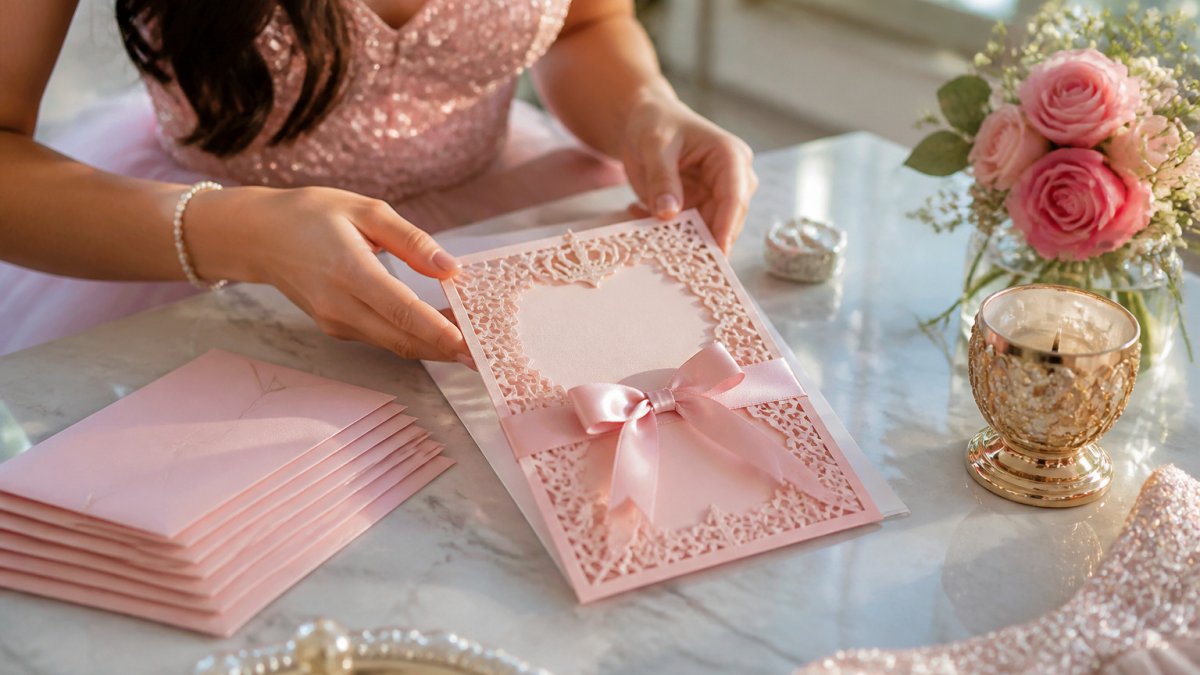
- Invitation: who, what, when, where, and one RSVP link
- Reminder: a friendly nudge with the deadline and what to expect
- Final details: parking, dress code, arrival time, and a contact number
Send the invitation six weeks out, the reminder at three weeks, and final details the week of the event. Personalize the first line with the guest’s name. That single change lifts open rates more than any design tweak. Consistent messaging across these touchpoints relies on a cohesive event identity that anchors your visual presentation in the minds of your attendees.
Step 5: Build a Landing Page and Track DIY Measurement
A landing page is one page with one purpose: get the RSVP. Skip the full website. Use a simple page builder with a form, a photo of the space, and a short description. Then measure what matters, and measure it in a way you can actually act on. This section gives you the DIY measurement system: the tools, the formulas, and the attribution method, all runnable from a shared spreadsheet.
Build the Page in Four Blocks
Keep the page short and scannable. Four blocks cover almost every event:
- Headline and one-line hook: what the event is and who it is for
- Details block: date, time, location, dress code, and cost (or “free”)
- RSVP form: name, email, and one or two qualifying questions (see below)
- Proof block: a photo of the space and one short testimonial or host note
Add a single call-to-action button above and below the form. Every extra link on the page is an exit ramp.
Capture the Right Fields on the Form
Your form is your measurement engine. Ask for the minimum plus two fields that pay for themselves:
- Name and email (required)
- “How did you hear about us?” with a short dropdown (social, email, friend, partner, flyer, other), this is your attribution source
- Accessibility and dietary needs, ask now, not the week of the event, so you can share notes with the venue early
A dropdown beats a free-text field because it keeps your data clean enough to count.
The DIY Measurement Stack
You do not need analytics software. Three free or low-cost tools cover the whole job:
- A form or page builder with built-in response tracking (most include a responses view and CSV export)
- A shared spreadsheet as your single source of truth
- Your email platform’s built-in stats for open and click rates
Export form responses weekly into the spreadsheet. One row per registrant, one column per field, plus columns for “attended” and “channel.” That structure lets you calculate every metric below with a simple formula.
The Four Formulas That Matter
- Registration rate: RSVPs ÷ invites sent. Tells you whether your list is the right size and fit.
- Click-through rate: clicks on your RSVP link ÷ emails delivered. Tells you whether your copy is working.
- Attendance rate: guests who show ÷ guests who confirmed. Tells you how much to over-invite.
A common pattern is to over-invite by roughly the gap between your registration and attendance rates. If 70% of confirmed guests typically show, invite enough to confirm about 1.4 times your target headcount.
Attribute Registrations to Channels
Attribution is the step most DIY hosts skip, and it is the one that makes next year easier. Because your form asks “How did you hear about us?”, you can sort registrants by channel and calculate a registration rate per channel:
- Count registrants per channel from the dropdown
- Divide by the number of people you reached on that channel (email list size, follower count, flyer count)
- Compare the rates side by side
The channel with the highest rate, not the highest raw count, is the one to double down on next time. A partner email that reaches 200 people and yields 20 RSVPs beats a social post that reaches 2,000 and yields 15.
Review Weekly, Adjust Once
Update the spreadsheet weekly and review it against your timeline. If registration lags, send one more reminder rather than rewriting everything. Make one change at a time so you can tell what worked.
A one-page spreadsheet with four formulas and one attribution dropdown is enough to run a real measurement program. The goal is not perfect data, it is knowing which channel to repeat and how many guests to invite next time.
Step 6: Plan for Accessibility and Last-Minute Contingencies
Accessibility and contingency planning separate a calm host from a frantic one. Ask every guest about mobility, dietary, and seating needs on the RSVP form. Share those notes with the venue early.
Build a short contingency list:
- Two backup helpers for check-in
- A printed guest list in case Wi-Fi drops
- A rain or delay plan for arrival
Know what the venue covers before the final week.
Reserve Your Date at M Lounge Before Your Promotion Peaks
M Lounge offers an opulent setting with luxurious venue draping, professional lounge furniture, and mesmerizing up-lights. The space seats 80 guests and holds 100 for cocktails, which suits intimate weddings, corporate retreats, and showers. Our team also provides tailored event planning support.
Get started with M Lounge and make a reservation for a date that fits your timeline.
Frequently Asked Questions
How do you market an event on a small budget?
Start with the channels you already own: your email list, personal social accounts, and local community groups. A DIY event marketing strategy works best when you focus on two or three channels instead of spreading thin. Ask past attendees to share your posts. Printed flyers and word-of-mouth can be considered as promotion options.
How far in advance should you start marketing an event?
A promotion timeline can include a save-the-date, registration, social media posts, and reminder emails. Consider the event date and your audience when setting the schedule.
How can you measure whether DIY event marketing is working?
Track four numbers: how many people opened your emails, how many clicked the registration link, how many registered, and how many actually showed up. Compare those against the goal you set in your event marketing plan. A simple spreadsheet updated weekly shows which channel brought the most sign-ups. After the event, ask attendees how they heard about you. That one question tells you where to spend your effort next time and where to cut back.
What should an event marketing plan include?
A working event marketing plan covers your goal, your target audience, your budget, your channels, and your timeline. Write down your guest goal, then list the channels you plan to use. Add a promotion calendar with specific tasks and owners, plus a simple way to track registrations. Keep it to one page. Review it regularly and adjust as needed.